Notebook #2
This is the second notebook I ever made. I made this a number of weeks after finishing the first one. My mom was looking for a notebook, and I was looking for an excuse to make another one. Win-win.
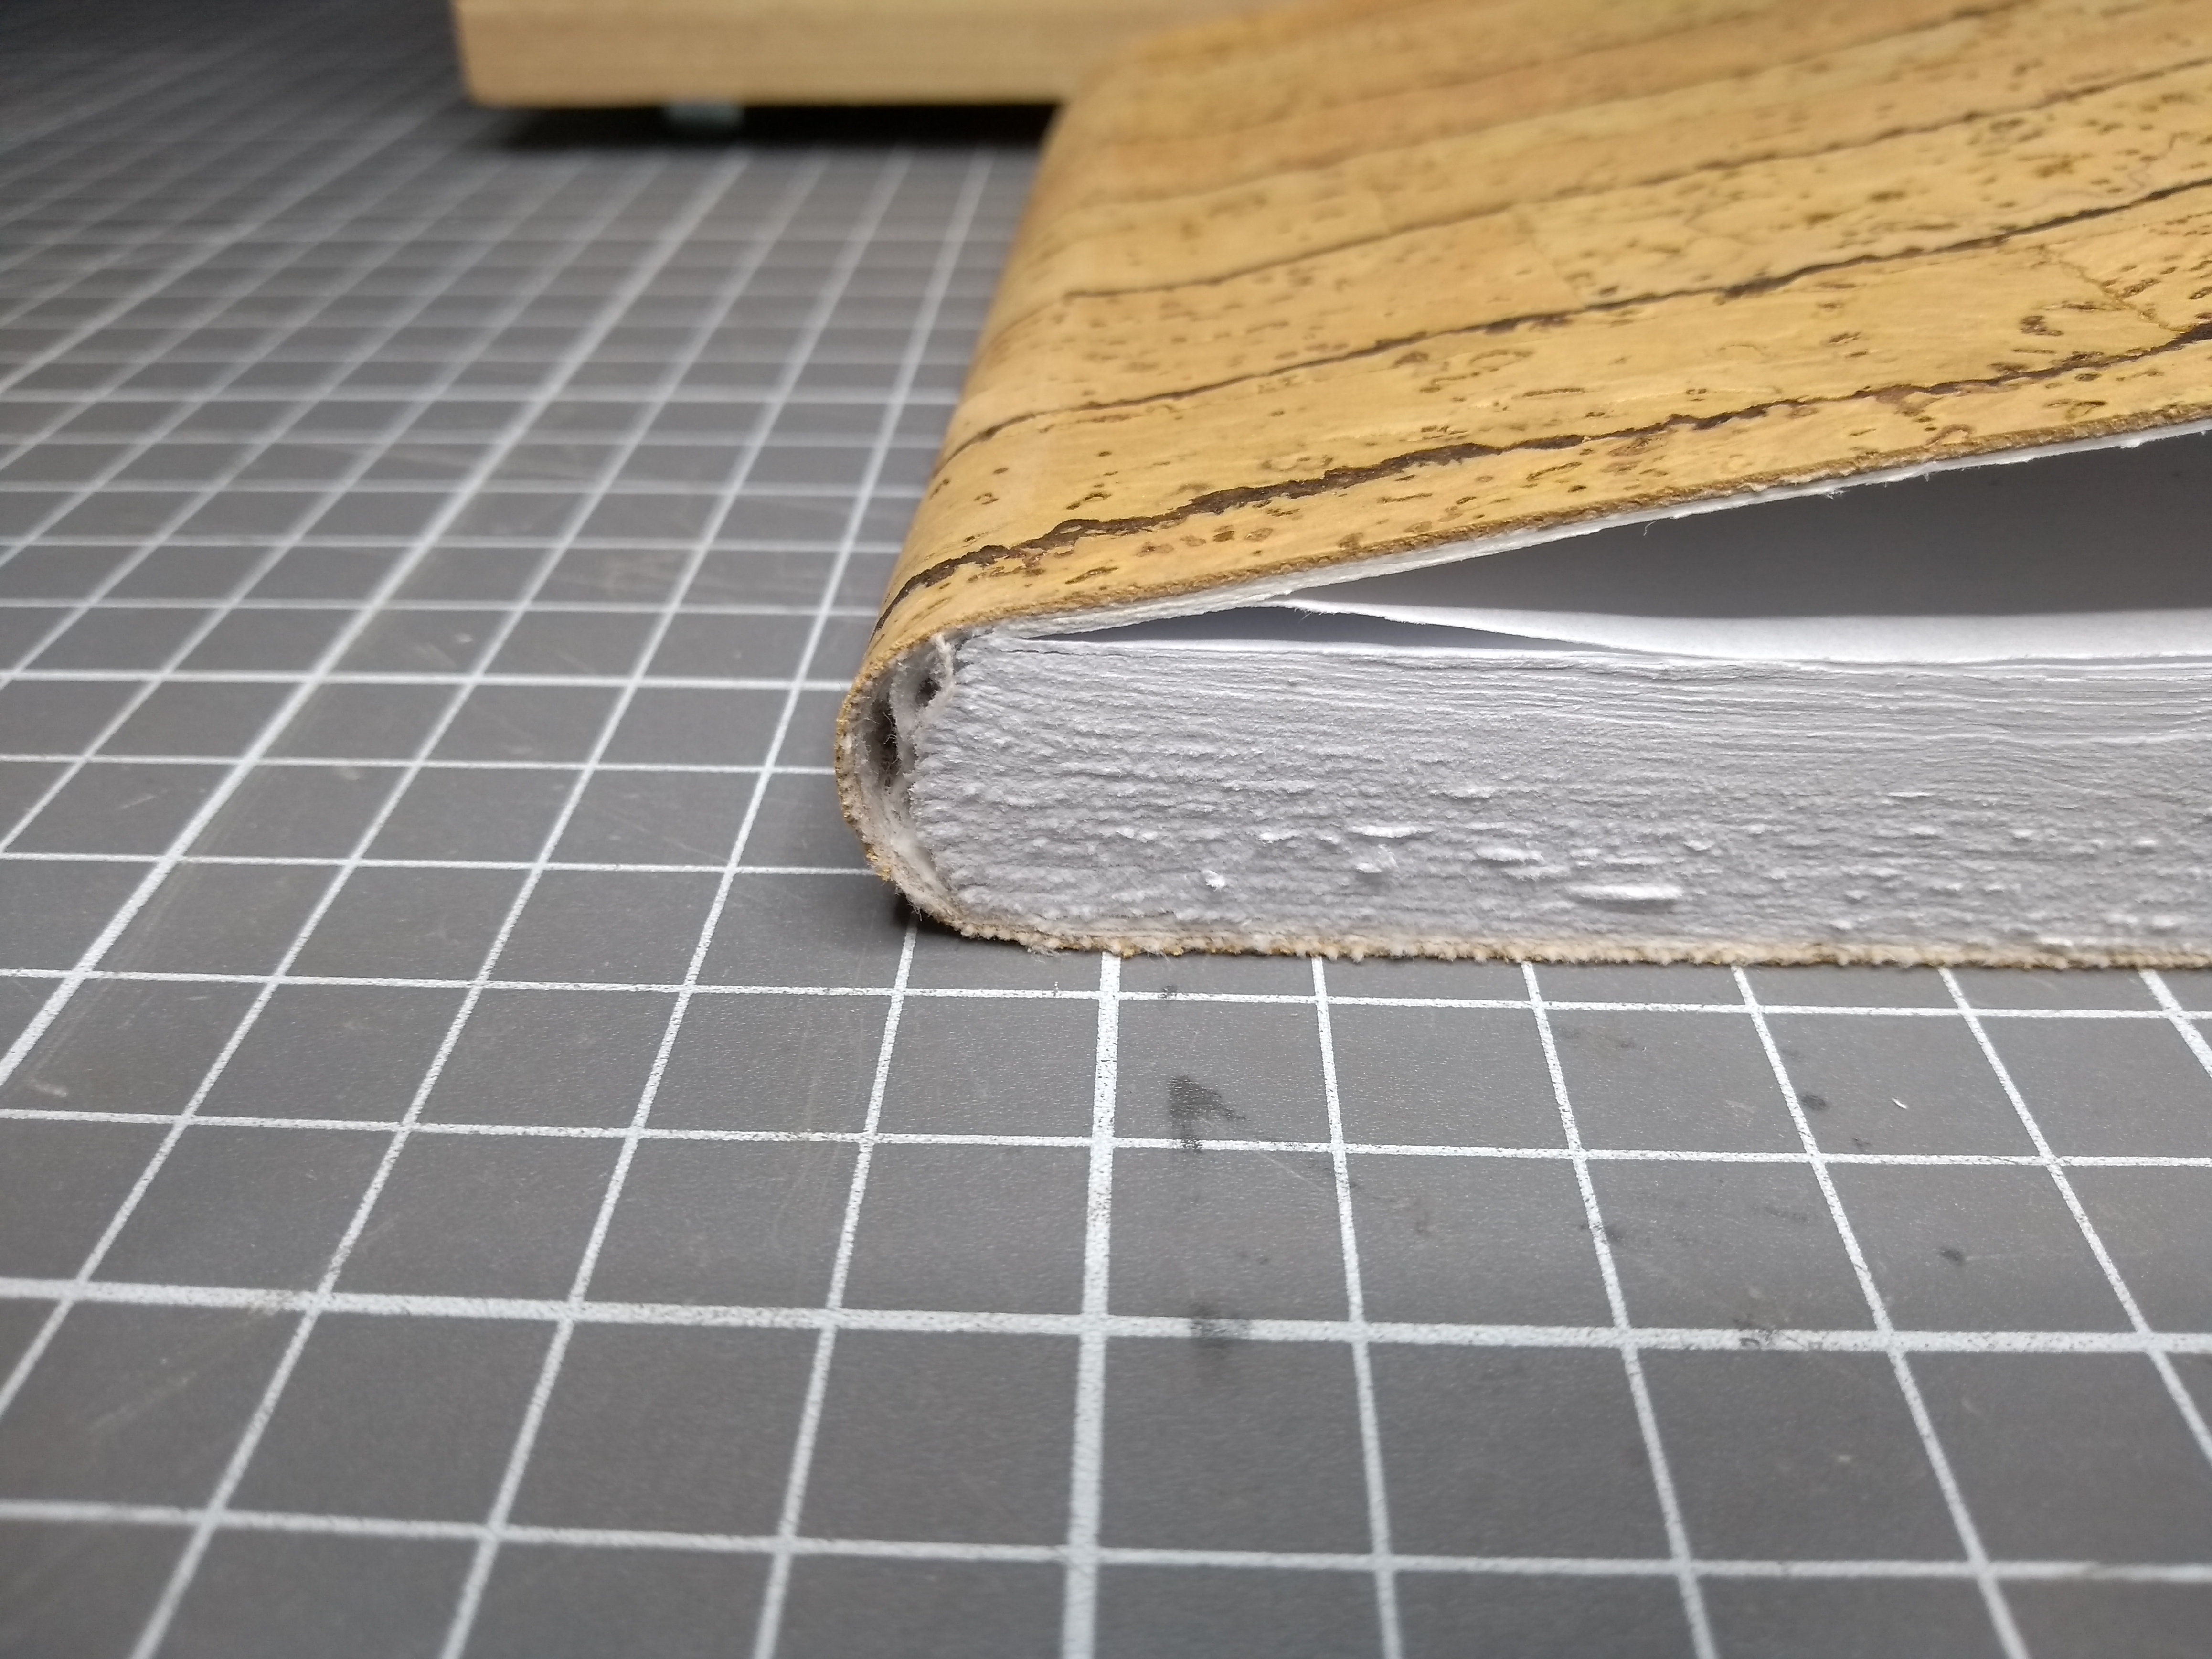
The finish of the sides is as rough as with the first one, which is just a consequence of the process I'm using to finish these. I actually quite like the look.
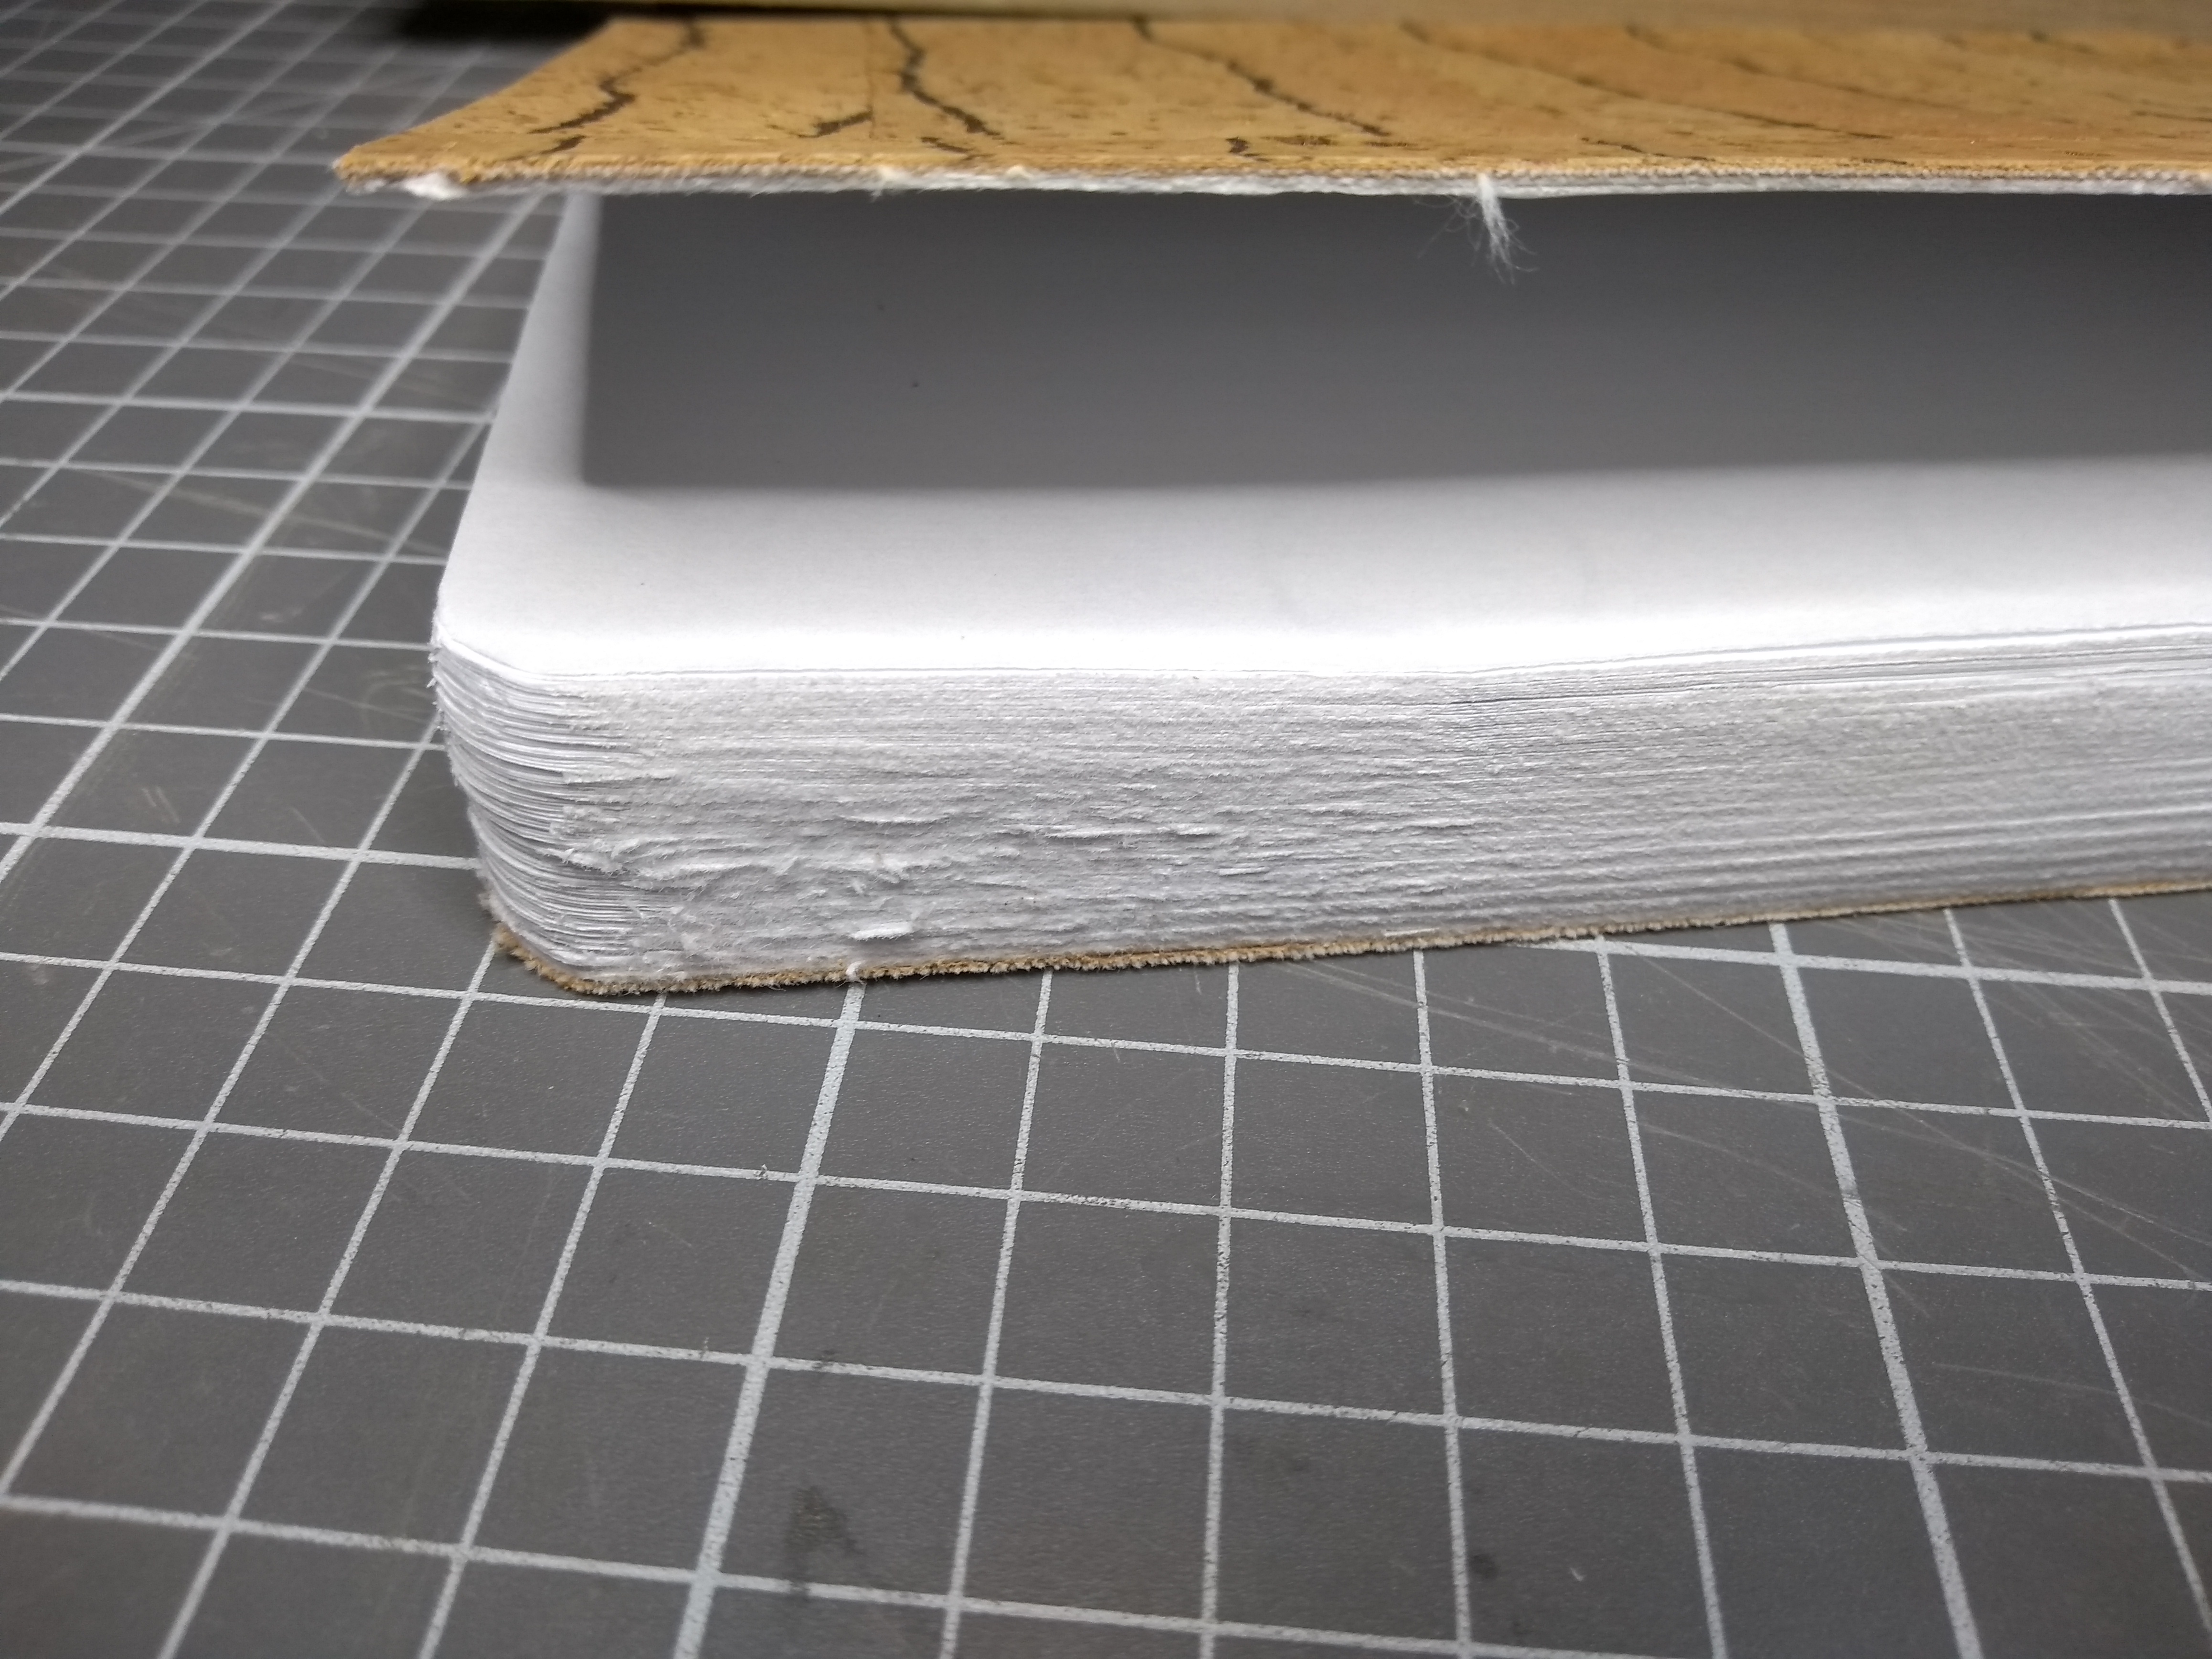
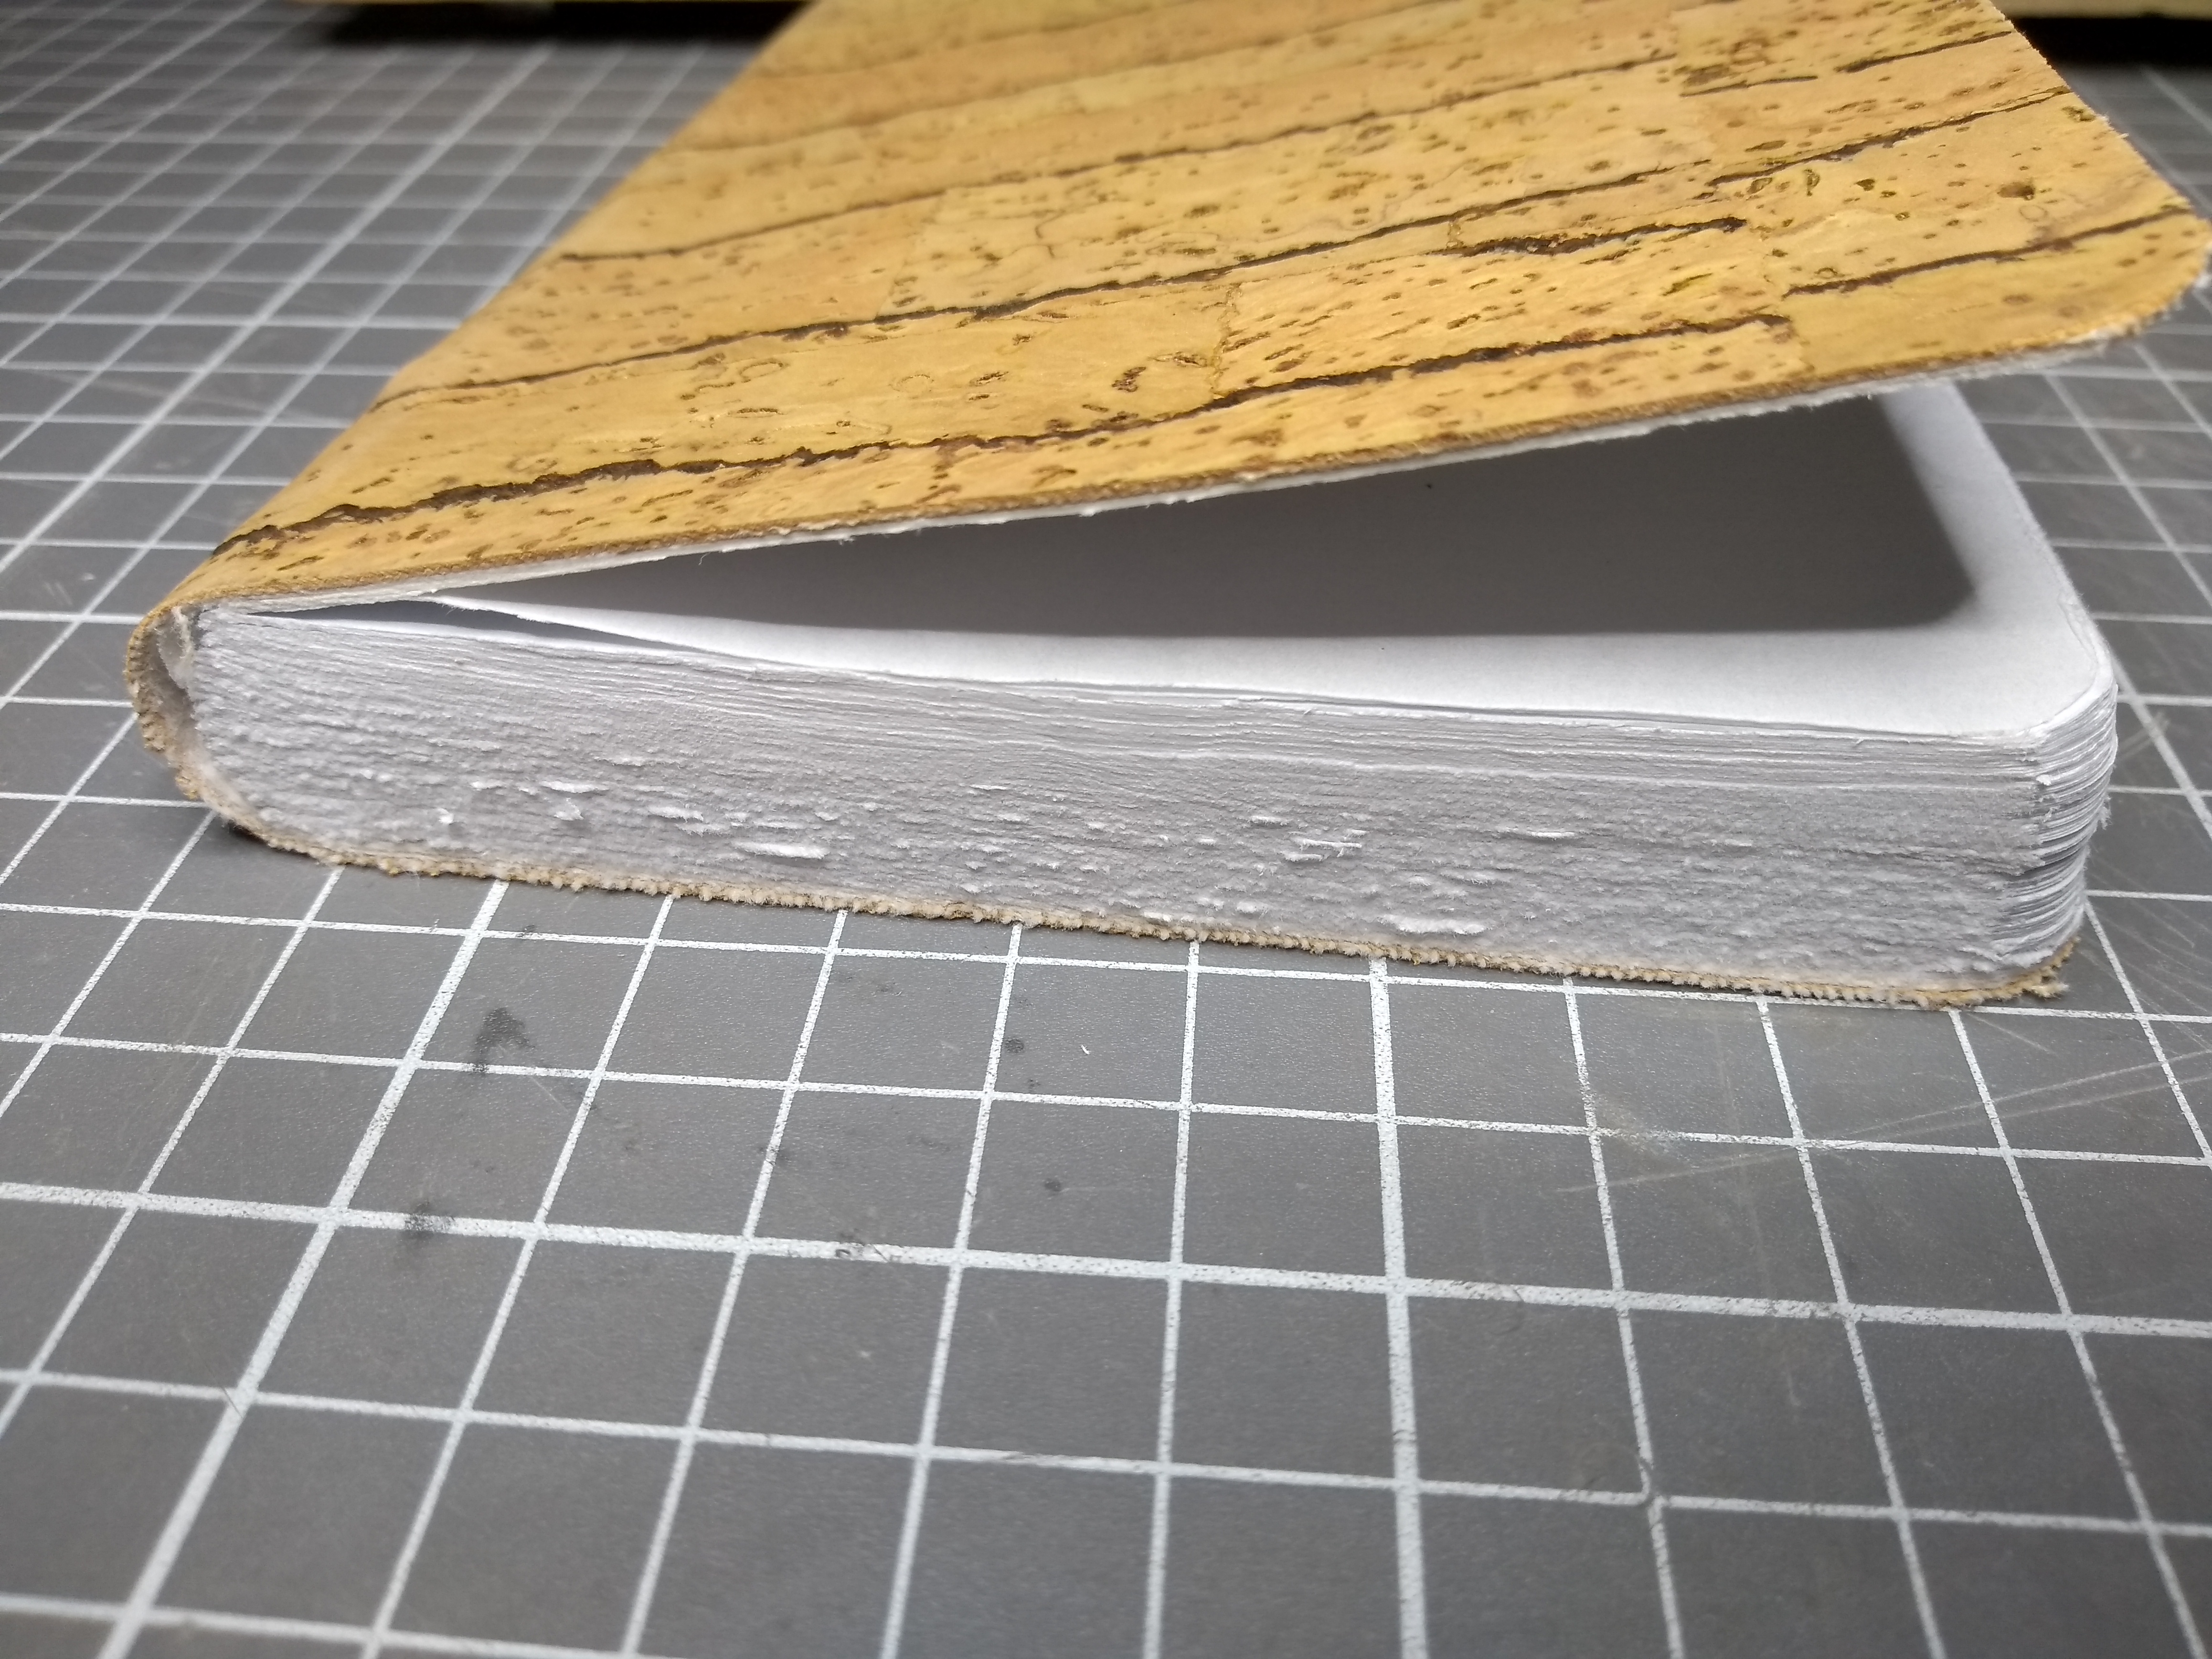
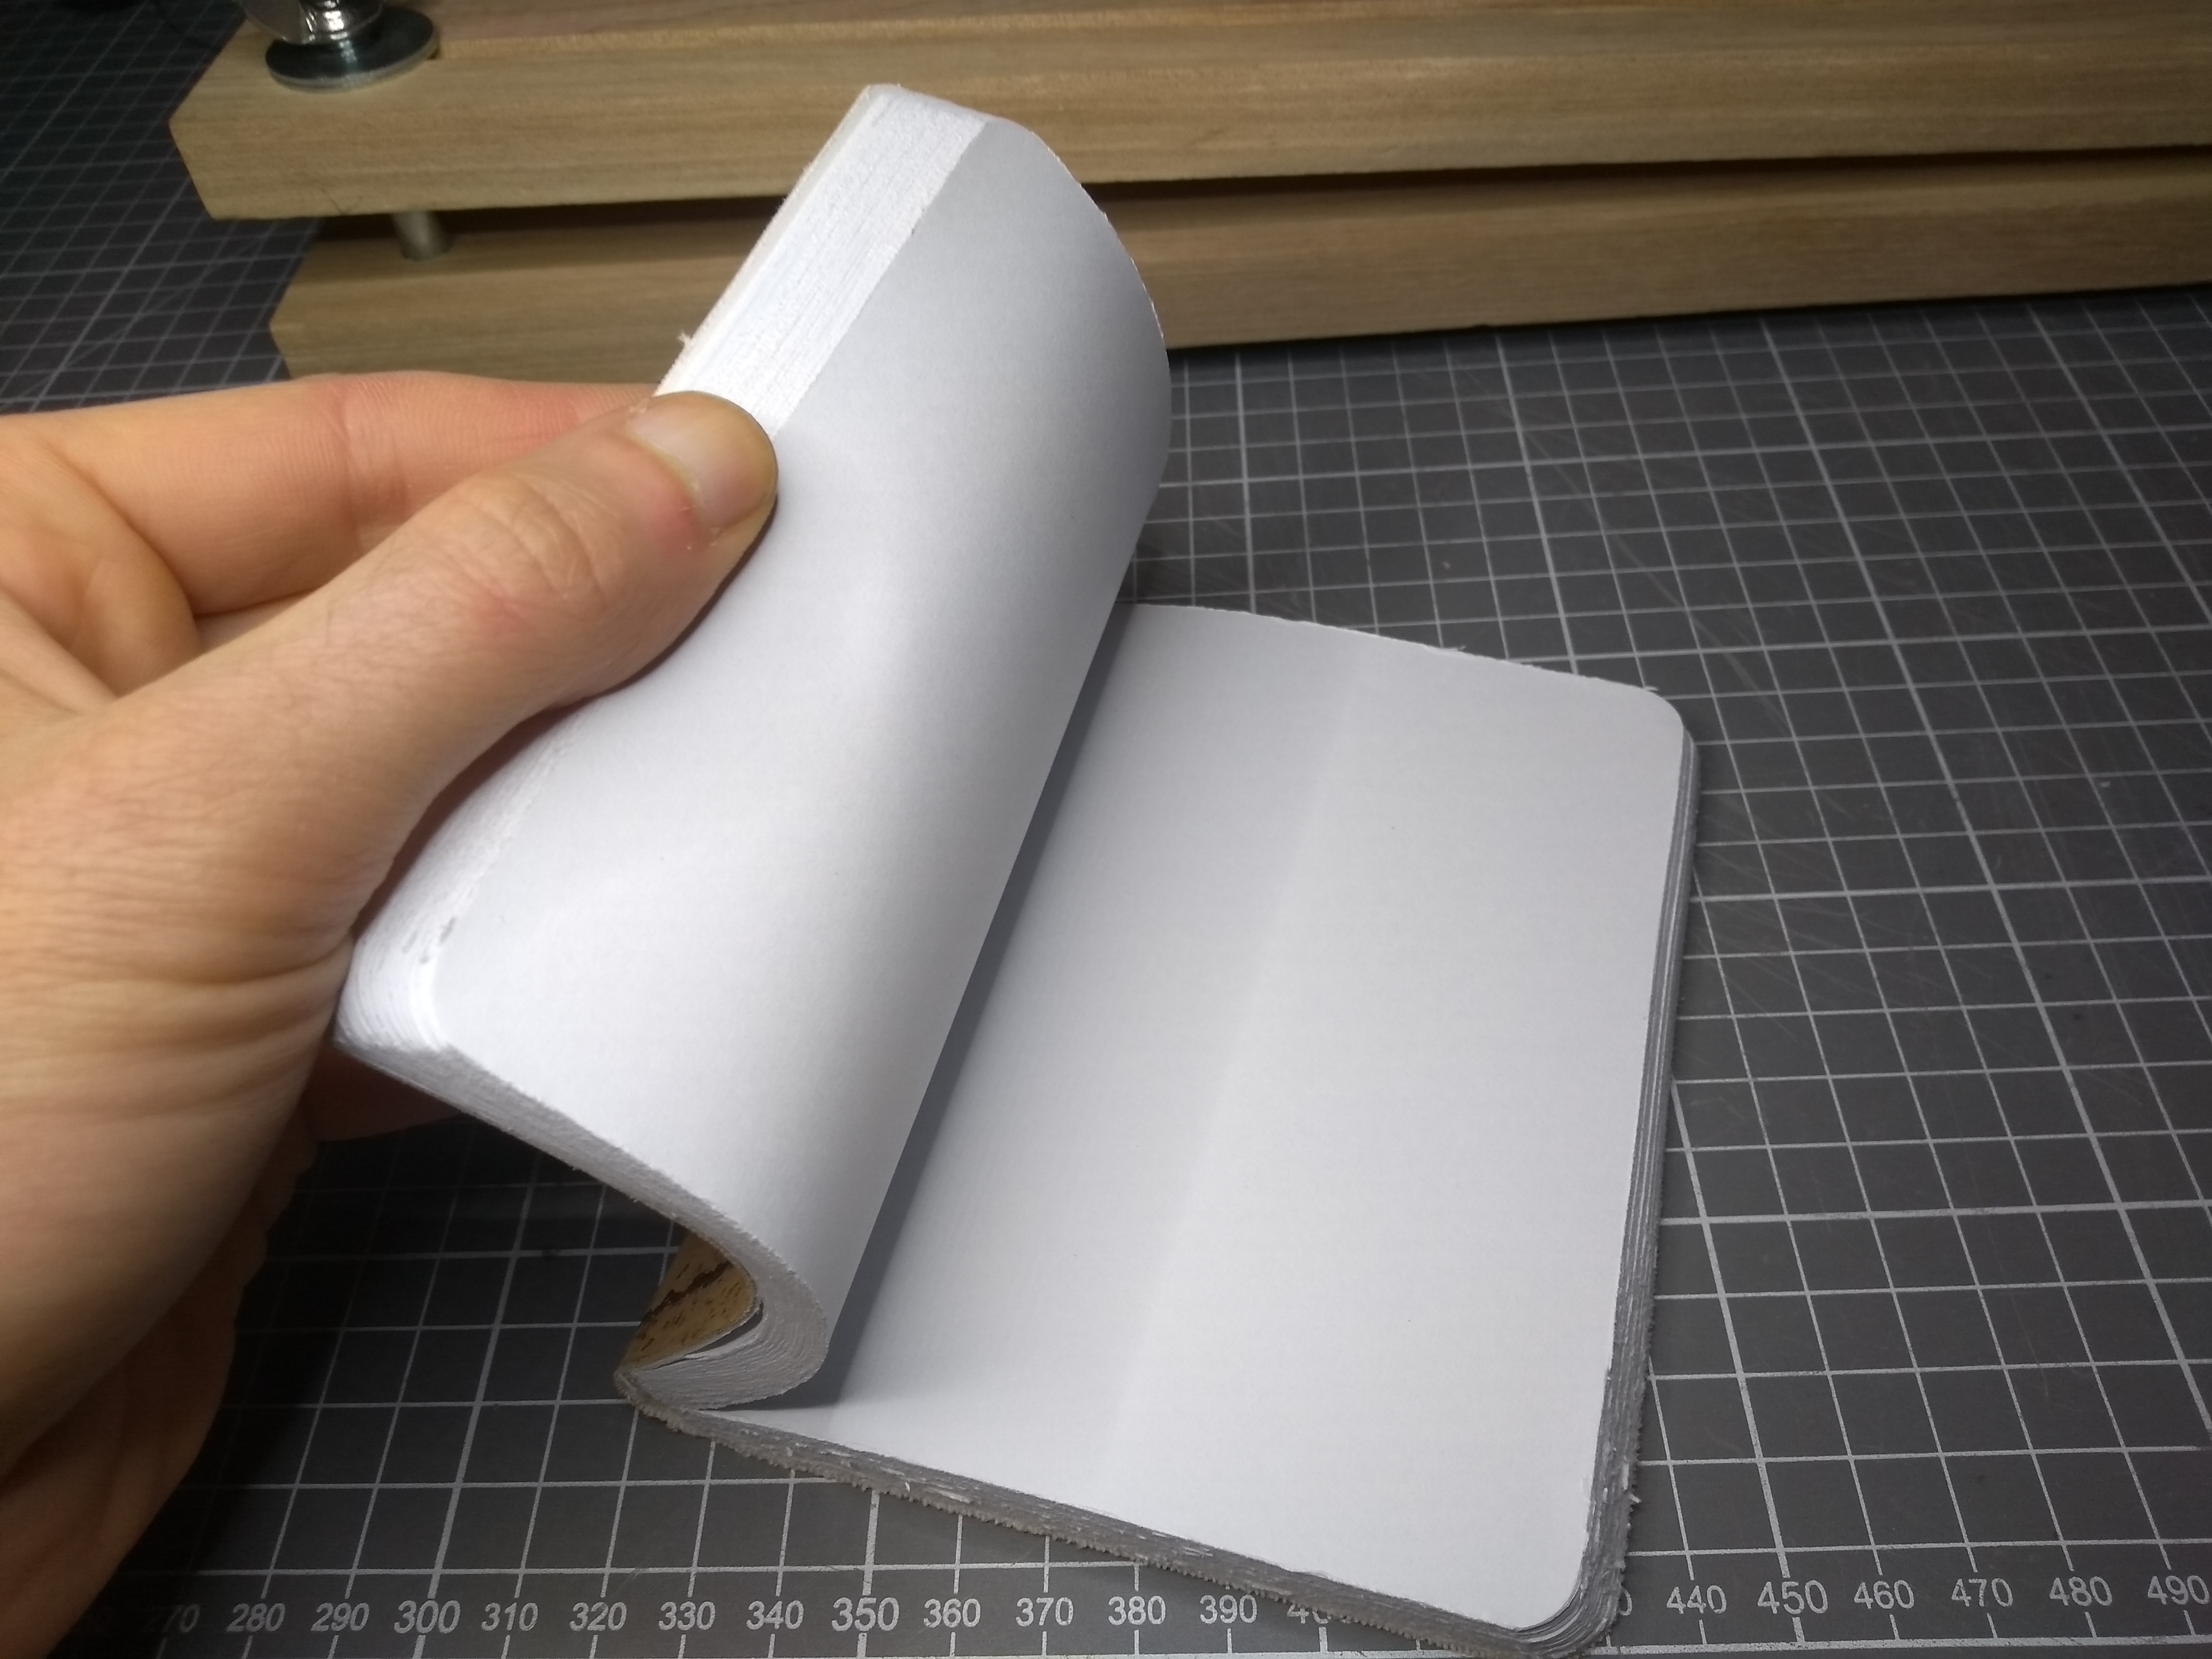
My priority was to do a better job of attaching the cover to the text block at the spine. That worked, but it's still not as close as I'd like it to be. There's always something to do better with the next one.

It's really fun to sign these, and I'm glad I started doing that with the first one. It's fun to make something very similar to what I made before, getting to improve the process, but still make something unique.

I tried to film the complete process of making this one, but quickly realized that my Android phone isn't suitable for extended filming. It doesn't have enough memory for long videos and the batteries would really need to be replaceable.
I still managed to make a video of the first few steps.
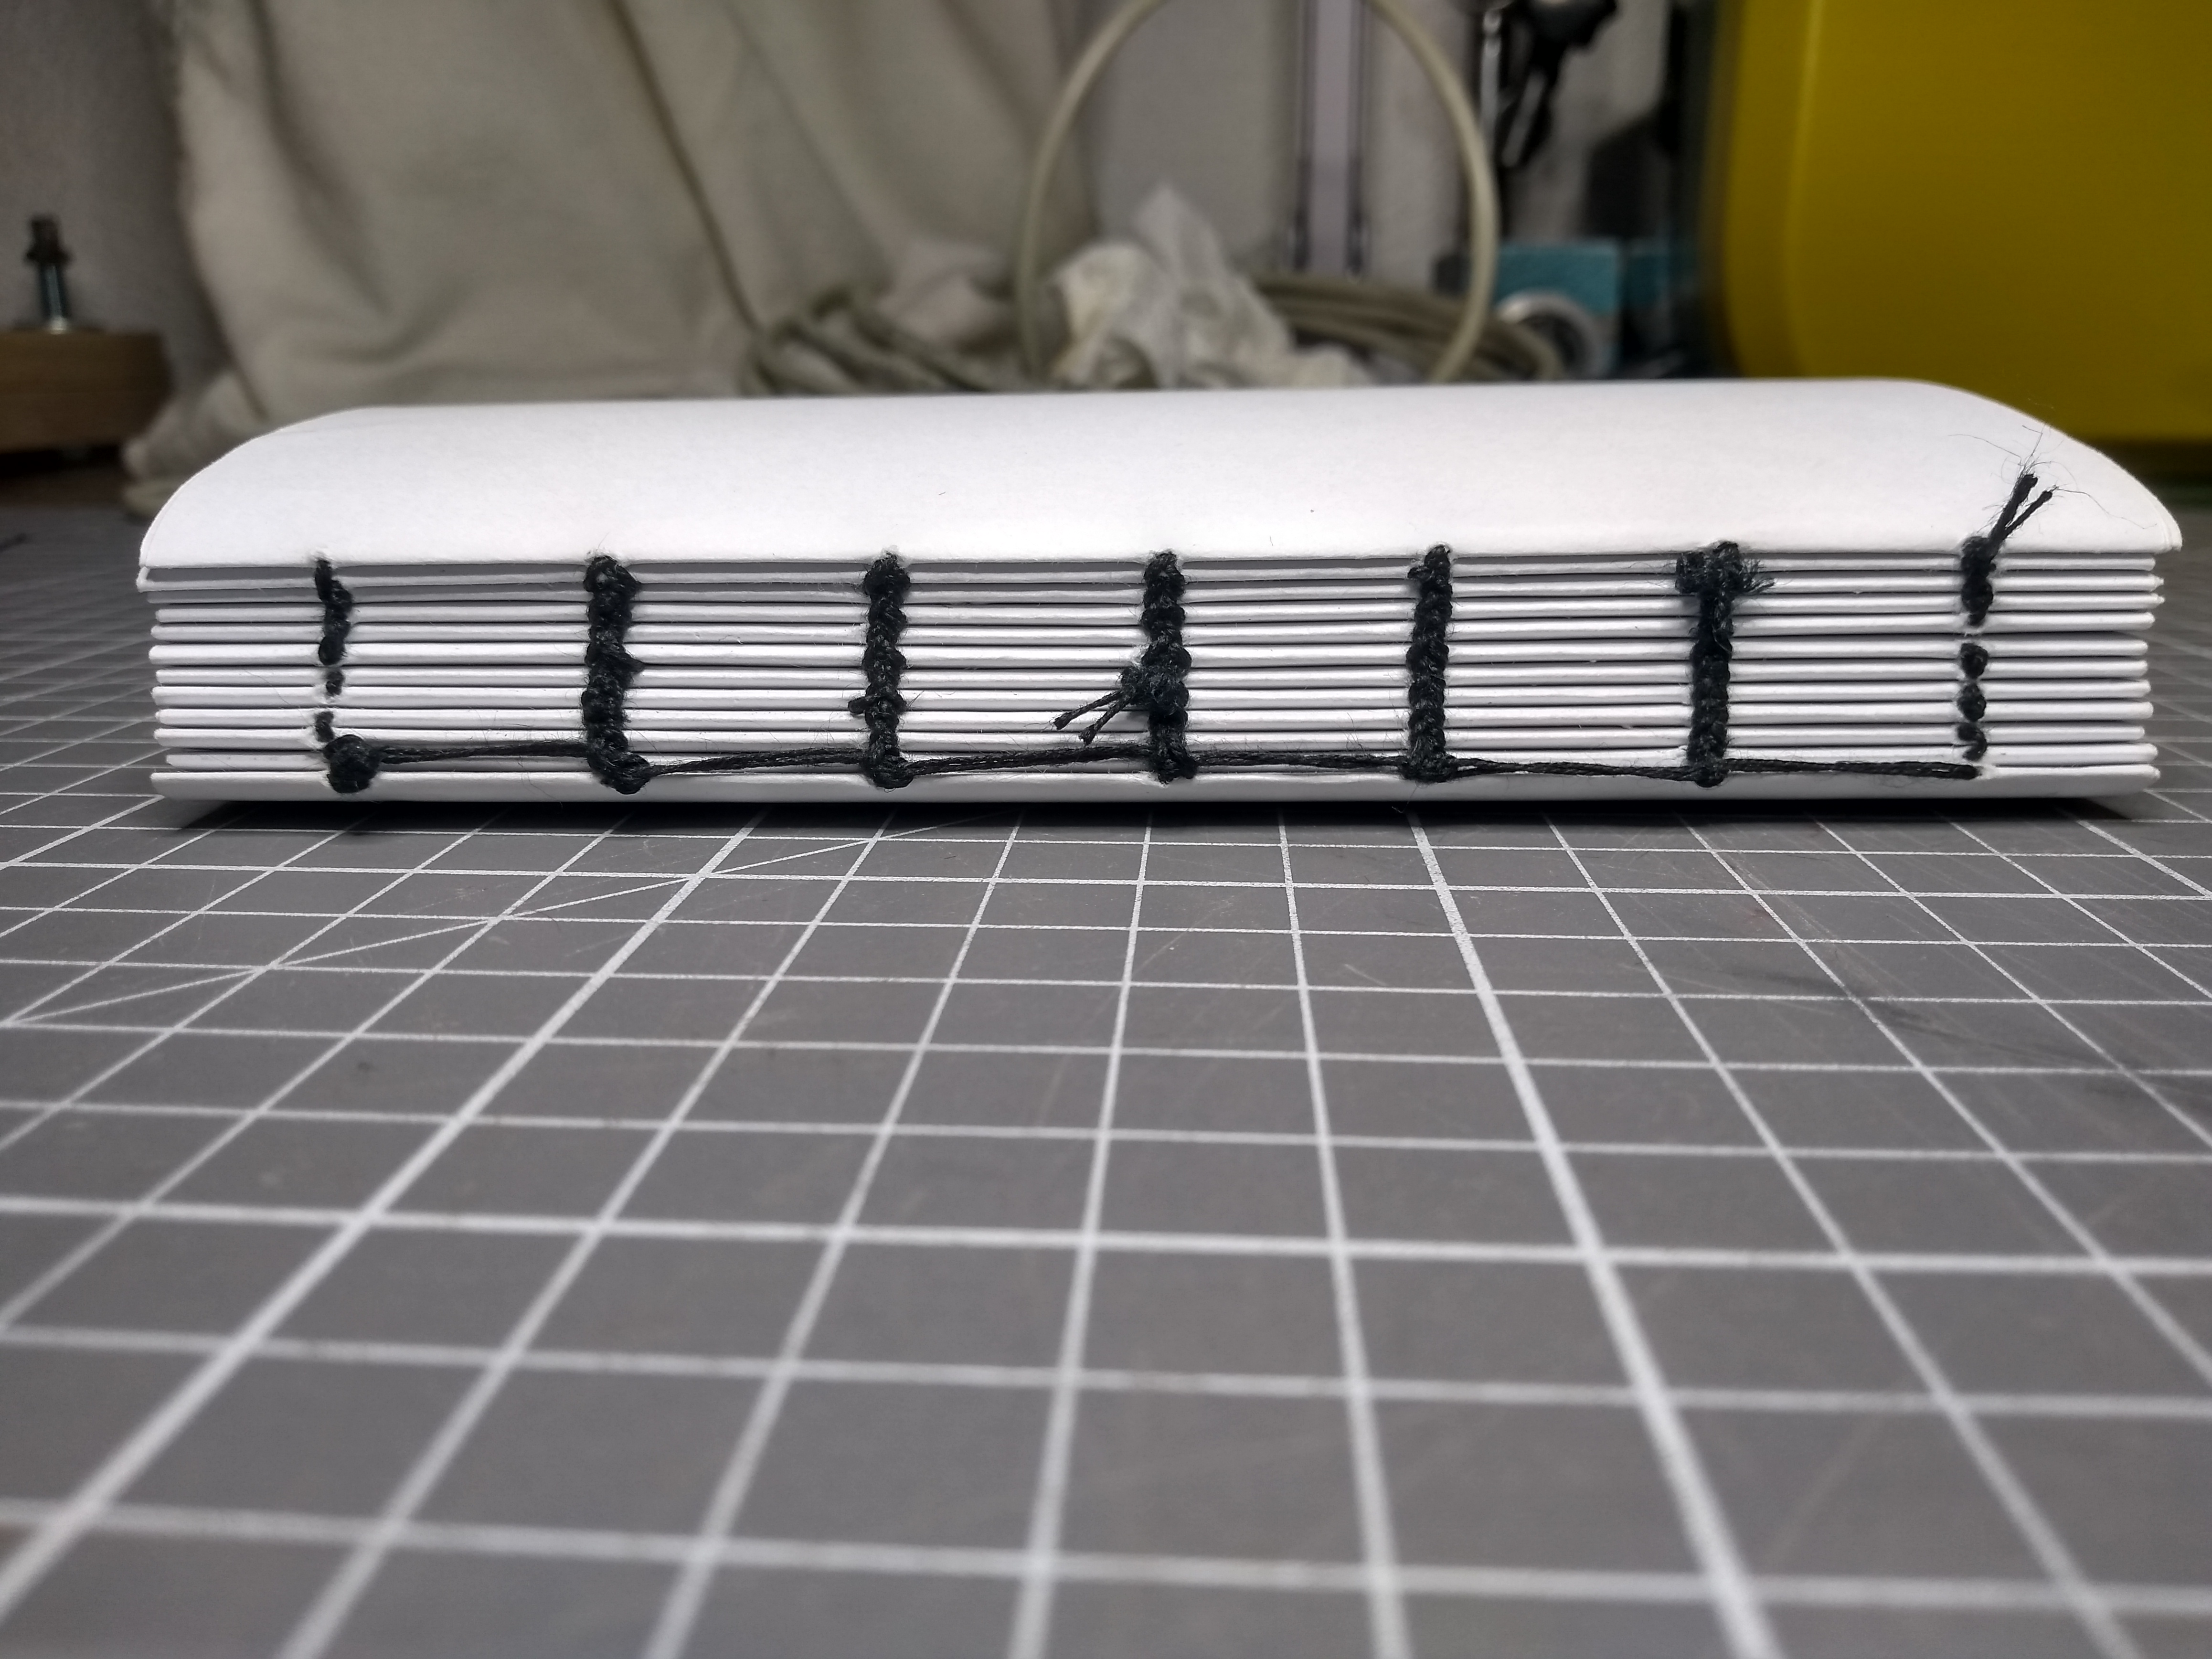
Other than that, I got a bunch of pictures of intermediate stages from the build. Here's the sewn text block.
This is some printer paper from the 90s that I found. It's a bit thicker than regular printer paper. I doubled it up and used it for the end pages.

Here I've glued on the end pages, as well as a protective sheet of paper to the spine. The signatures moved while I glued on the protective sheet, so this backfired a bit.
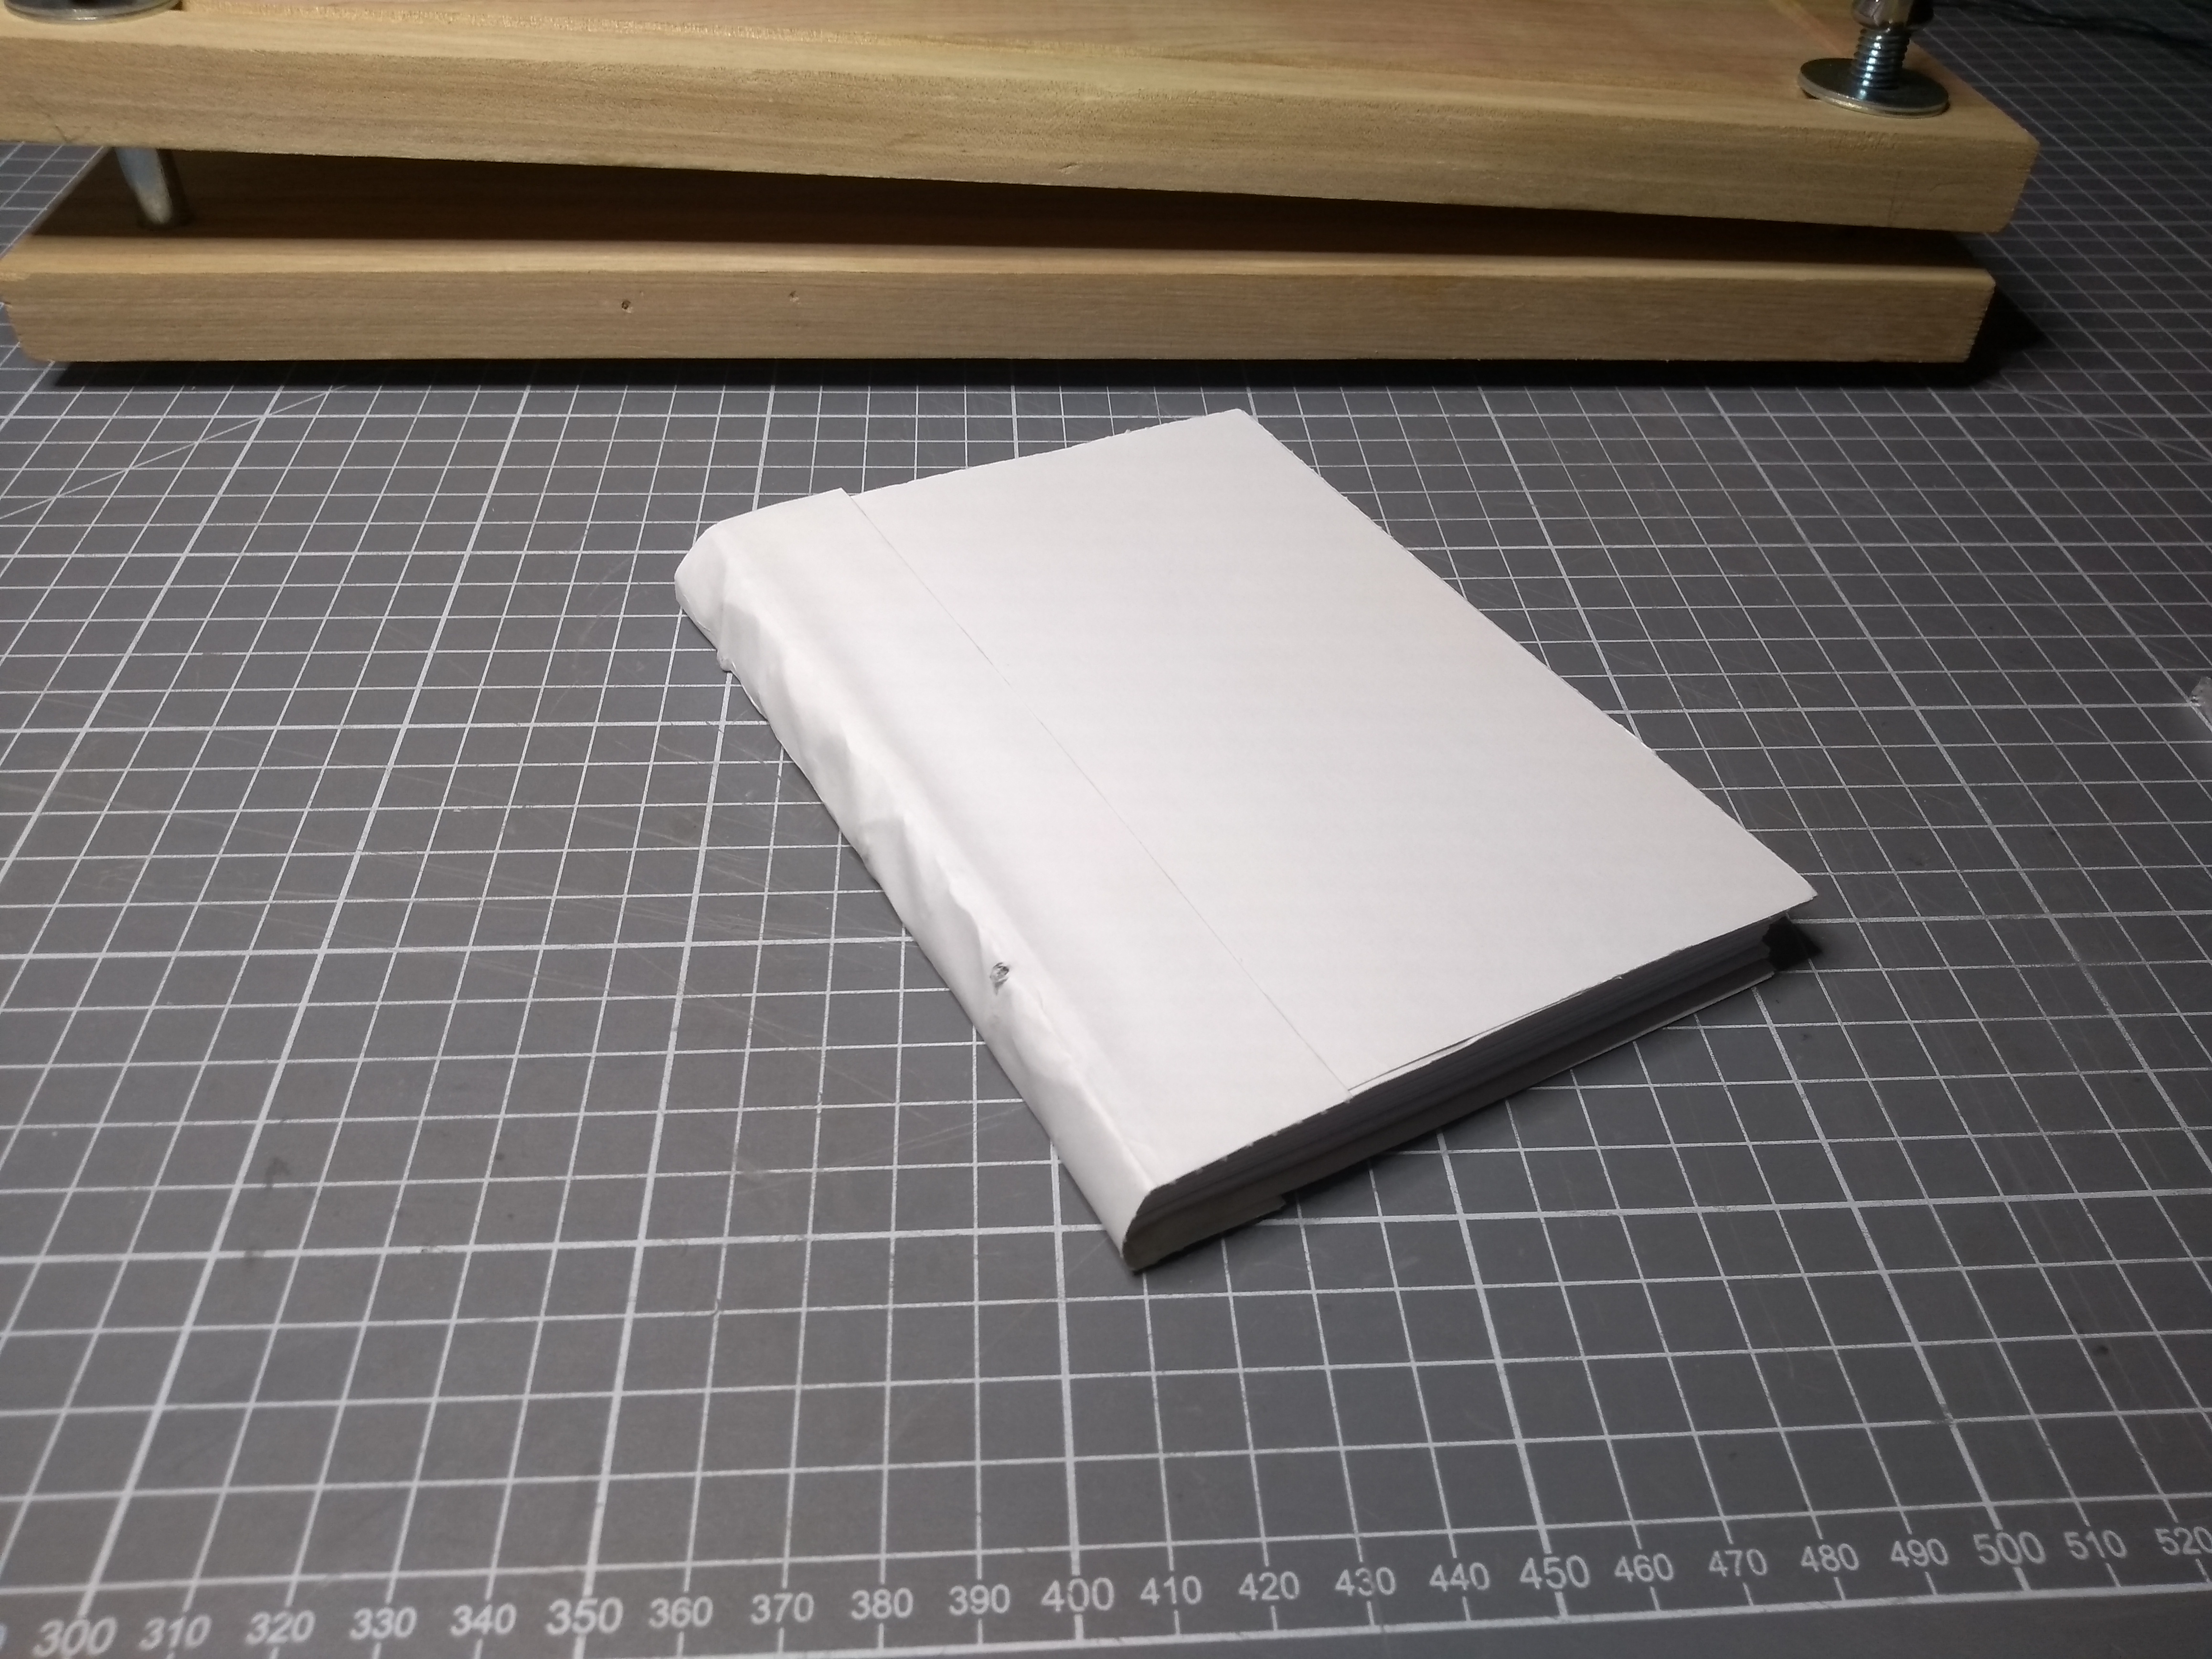
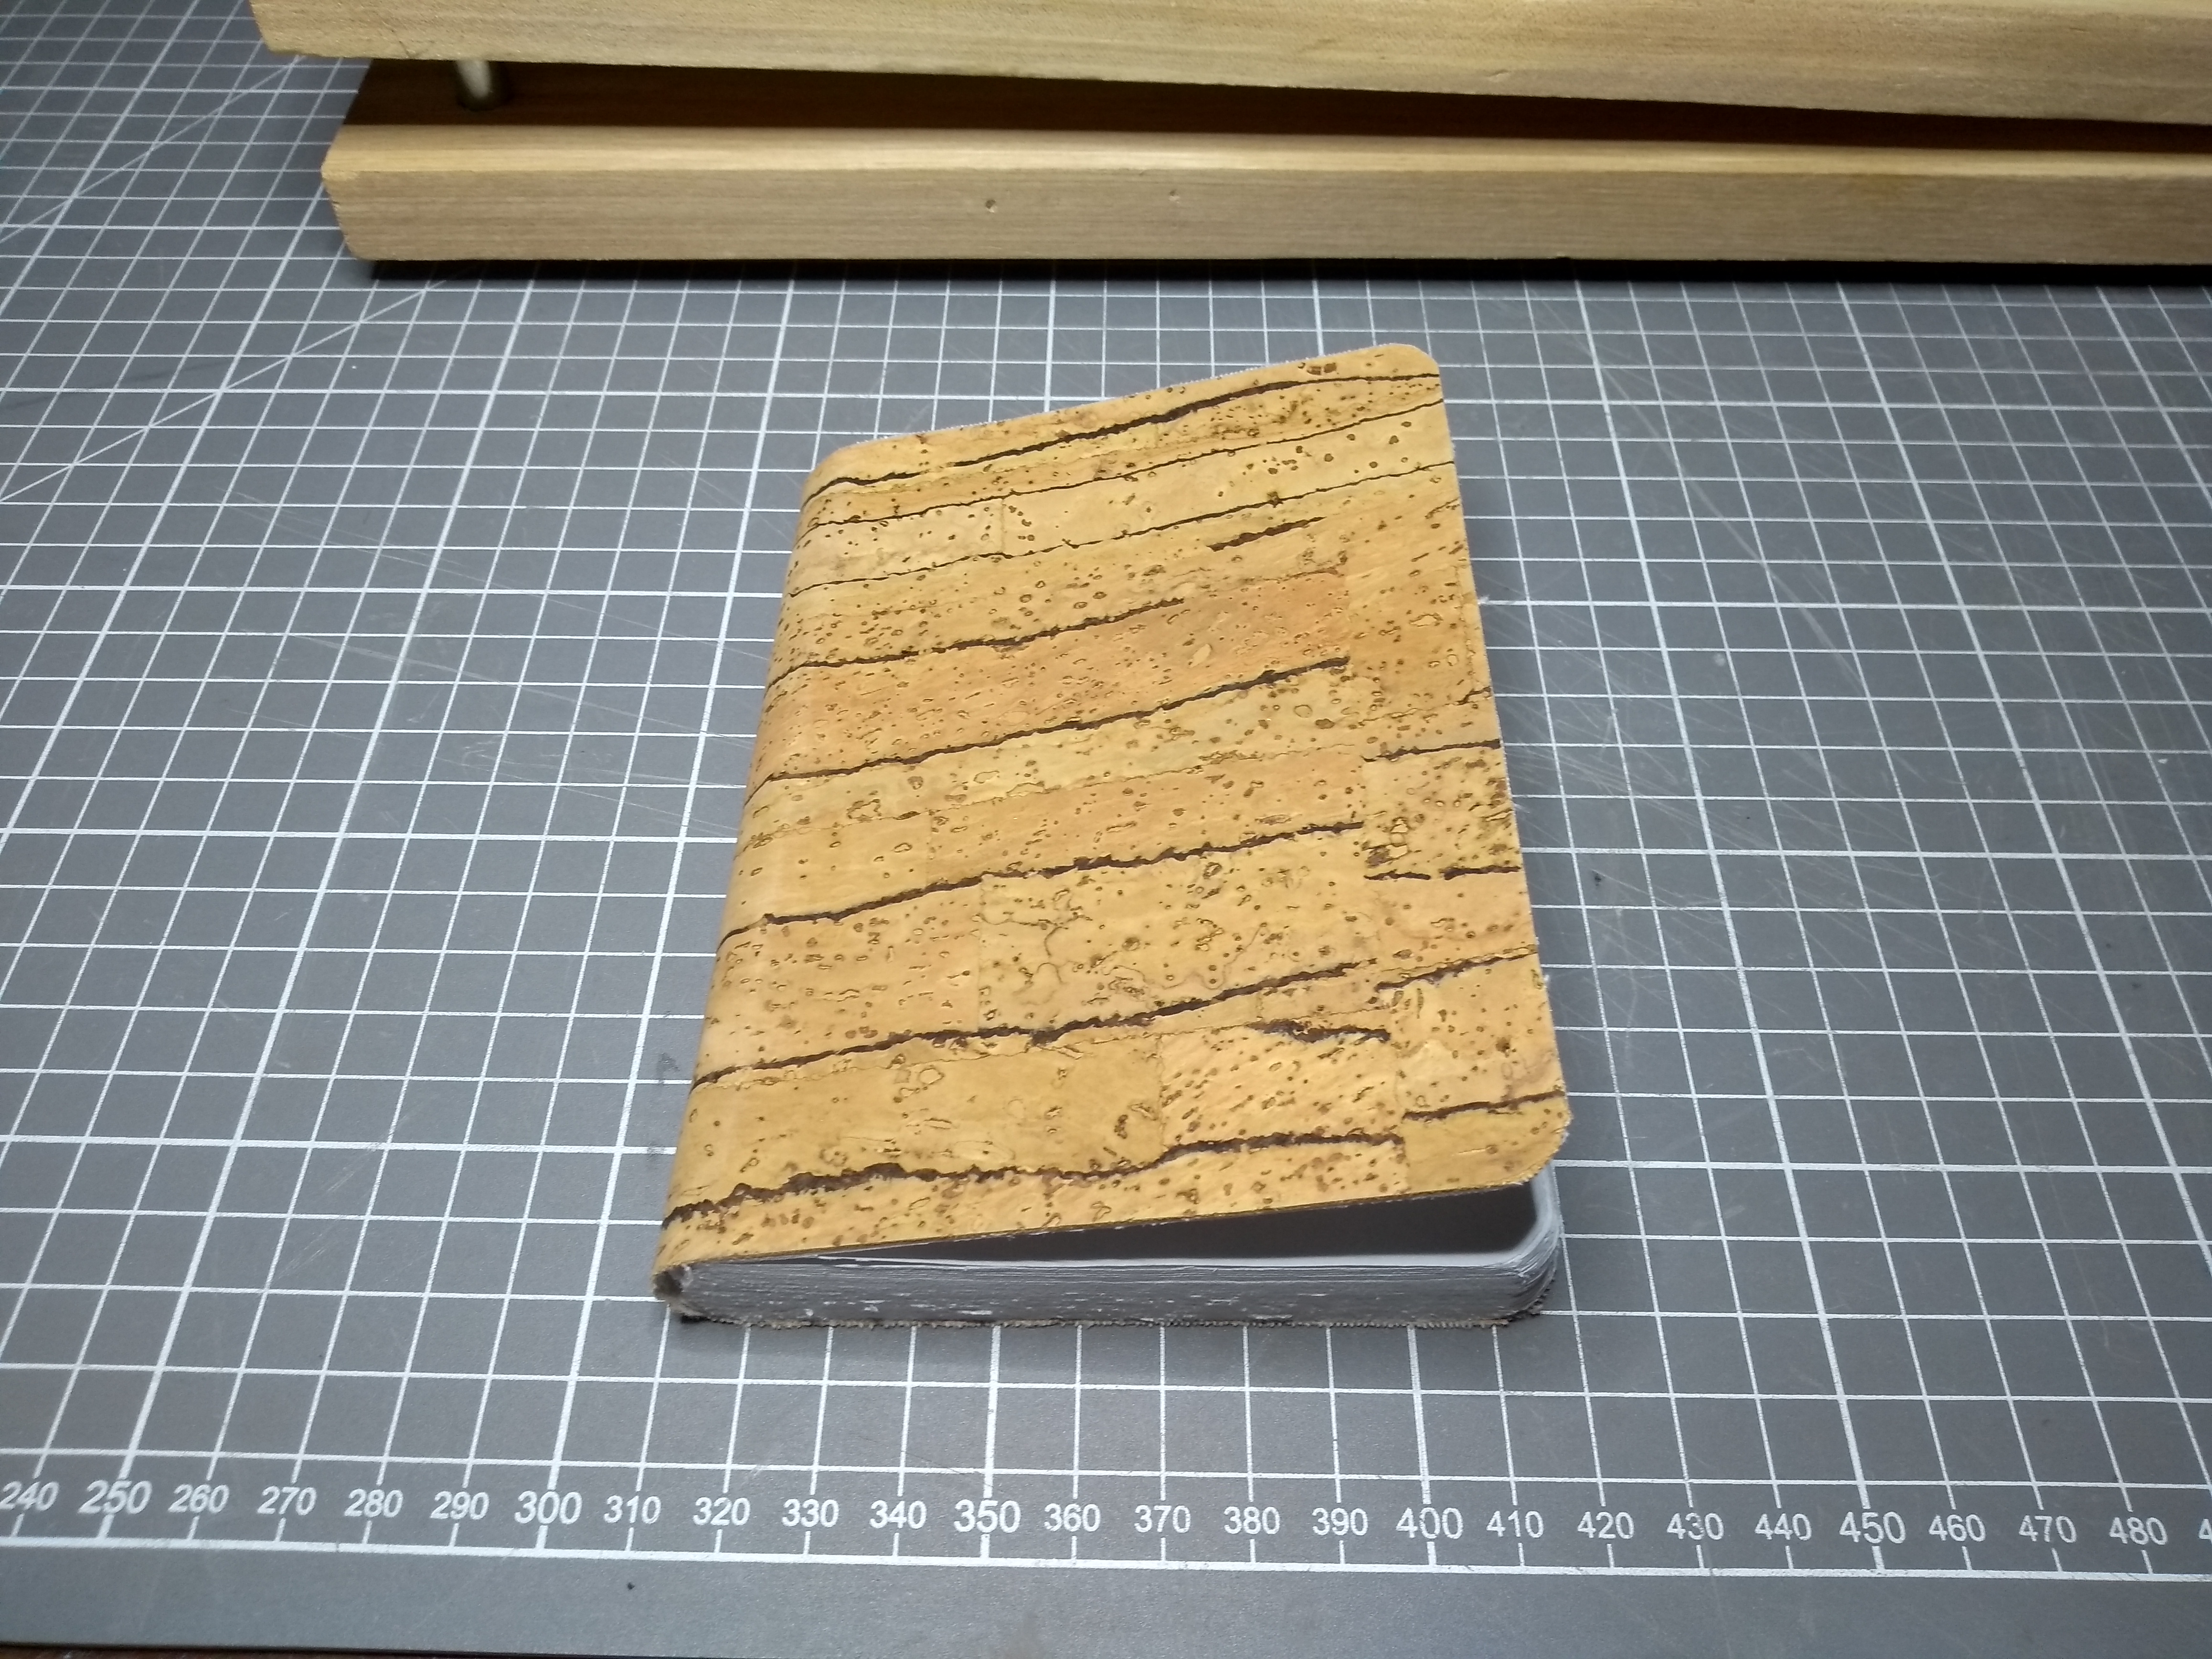
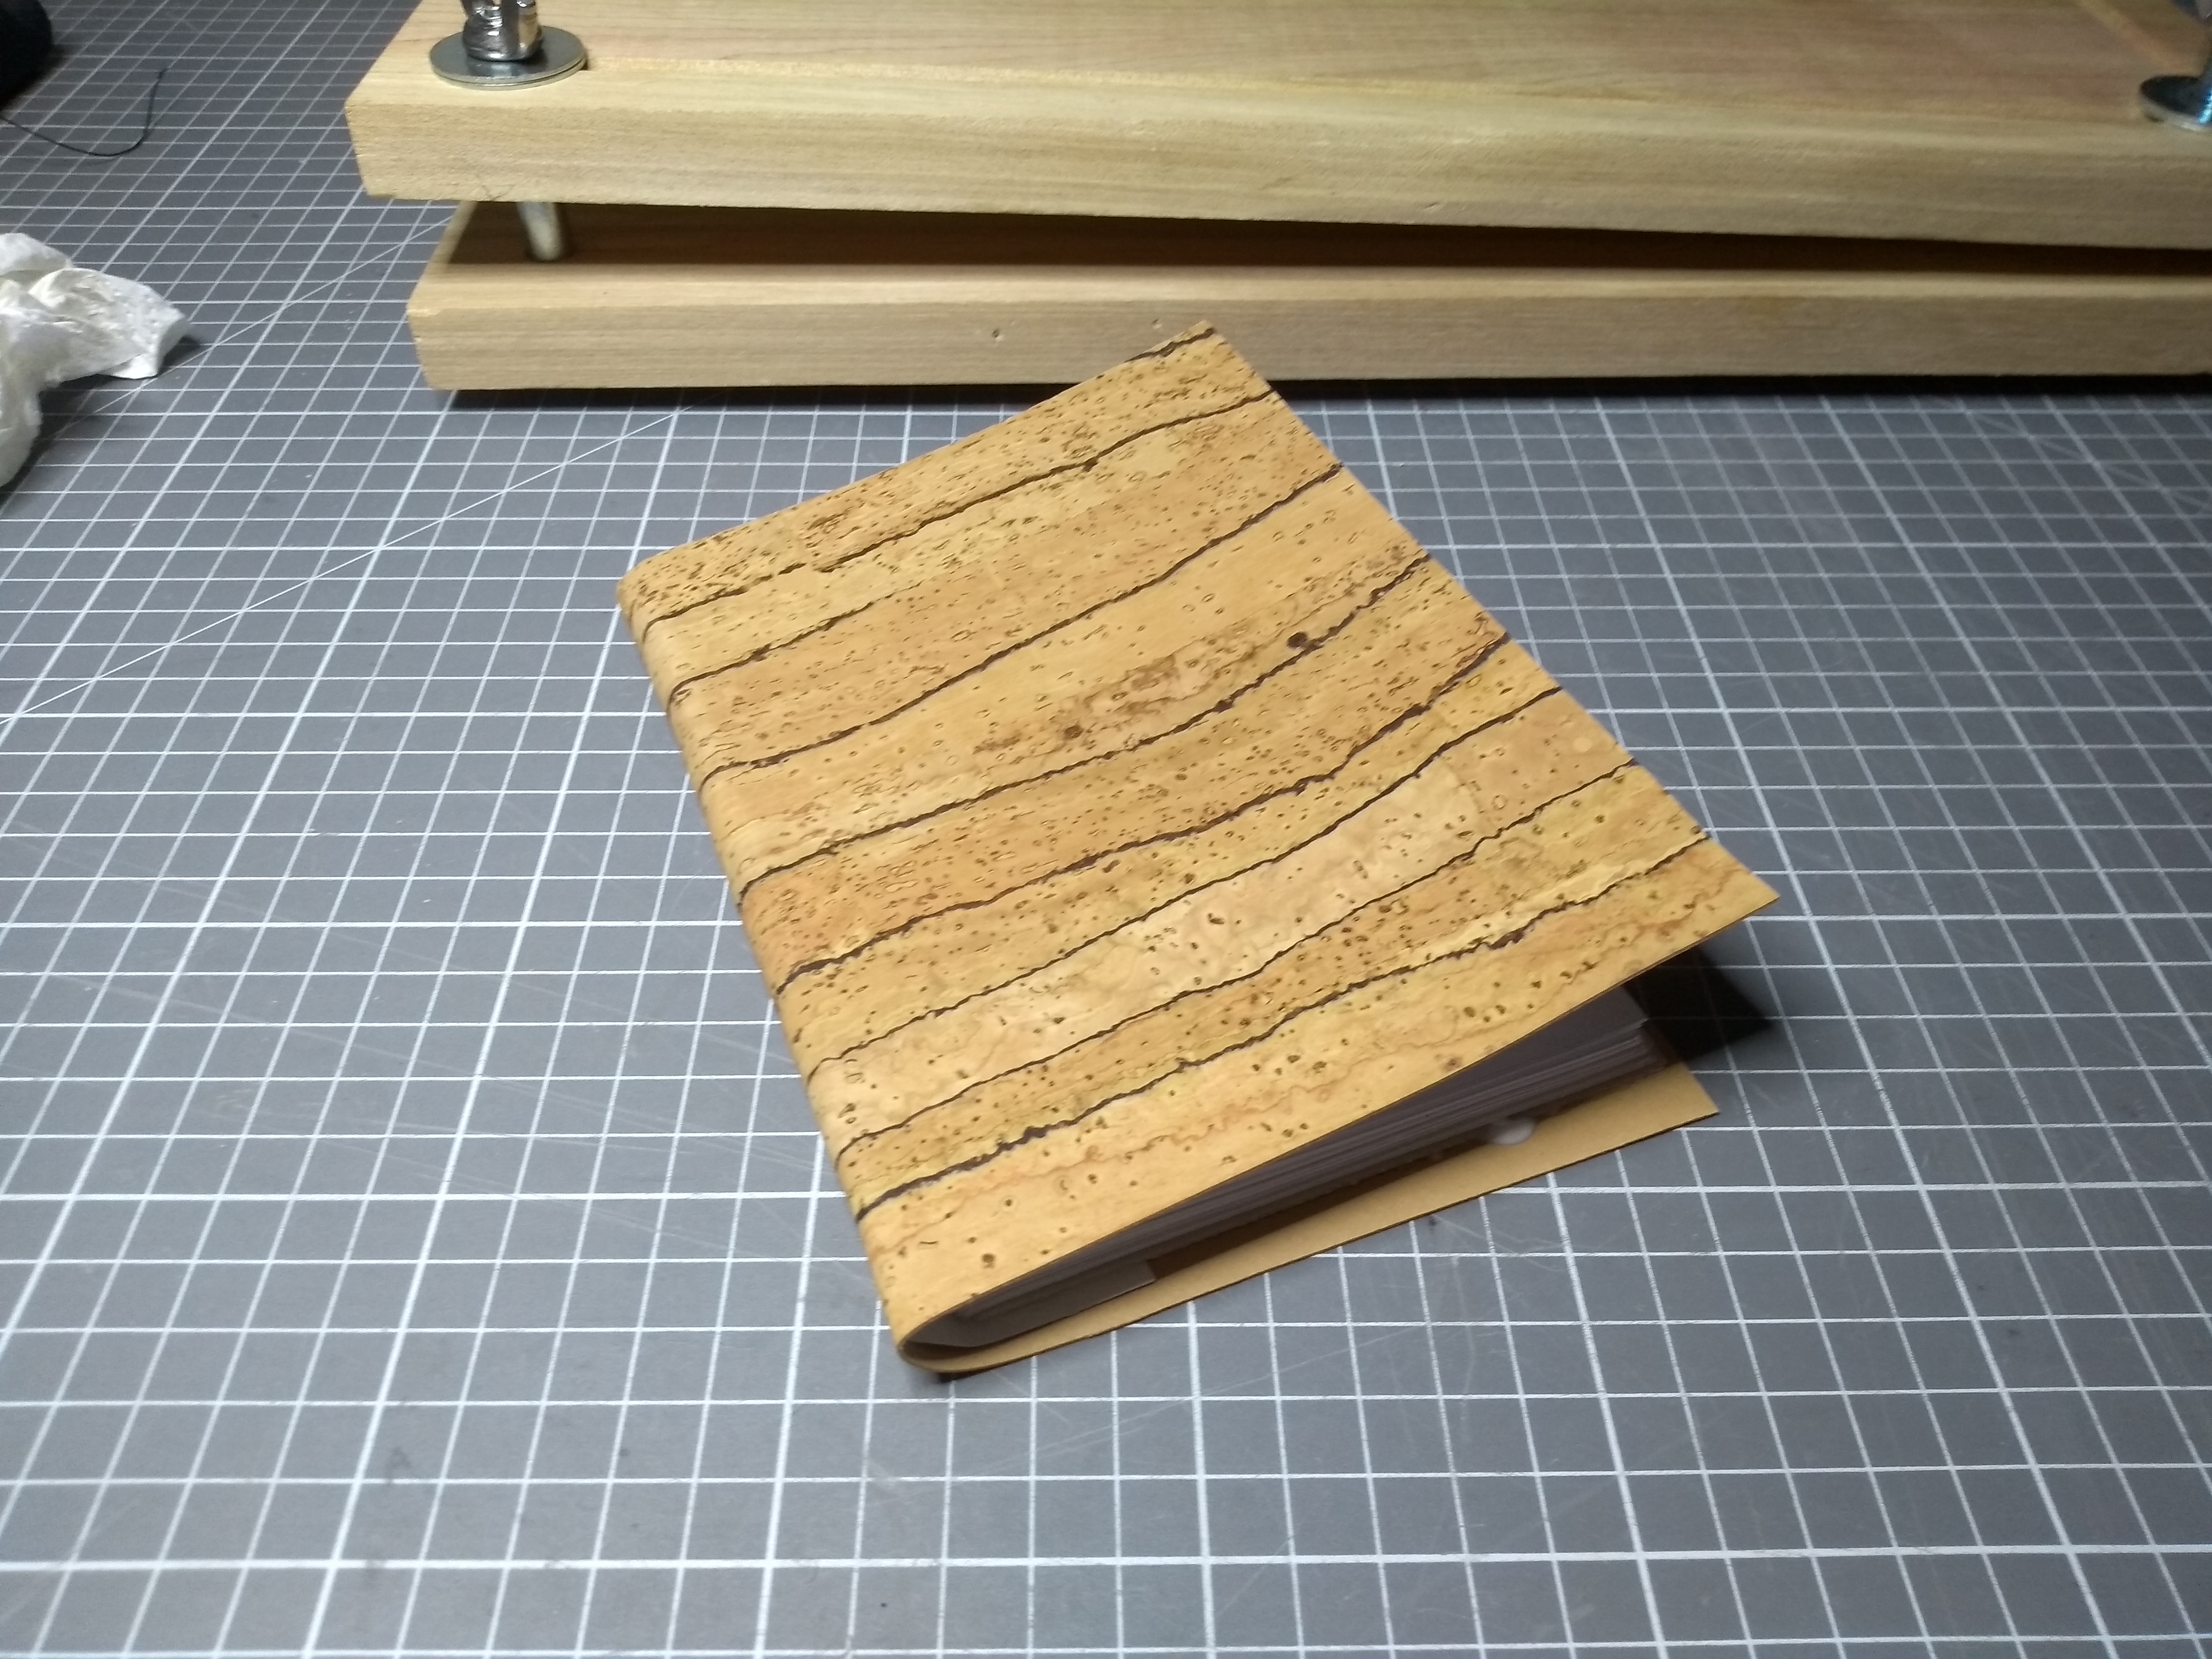
Here's the cover added, before I cut the notebook down to size.
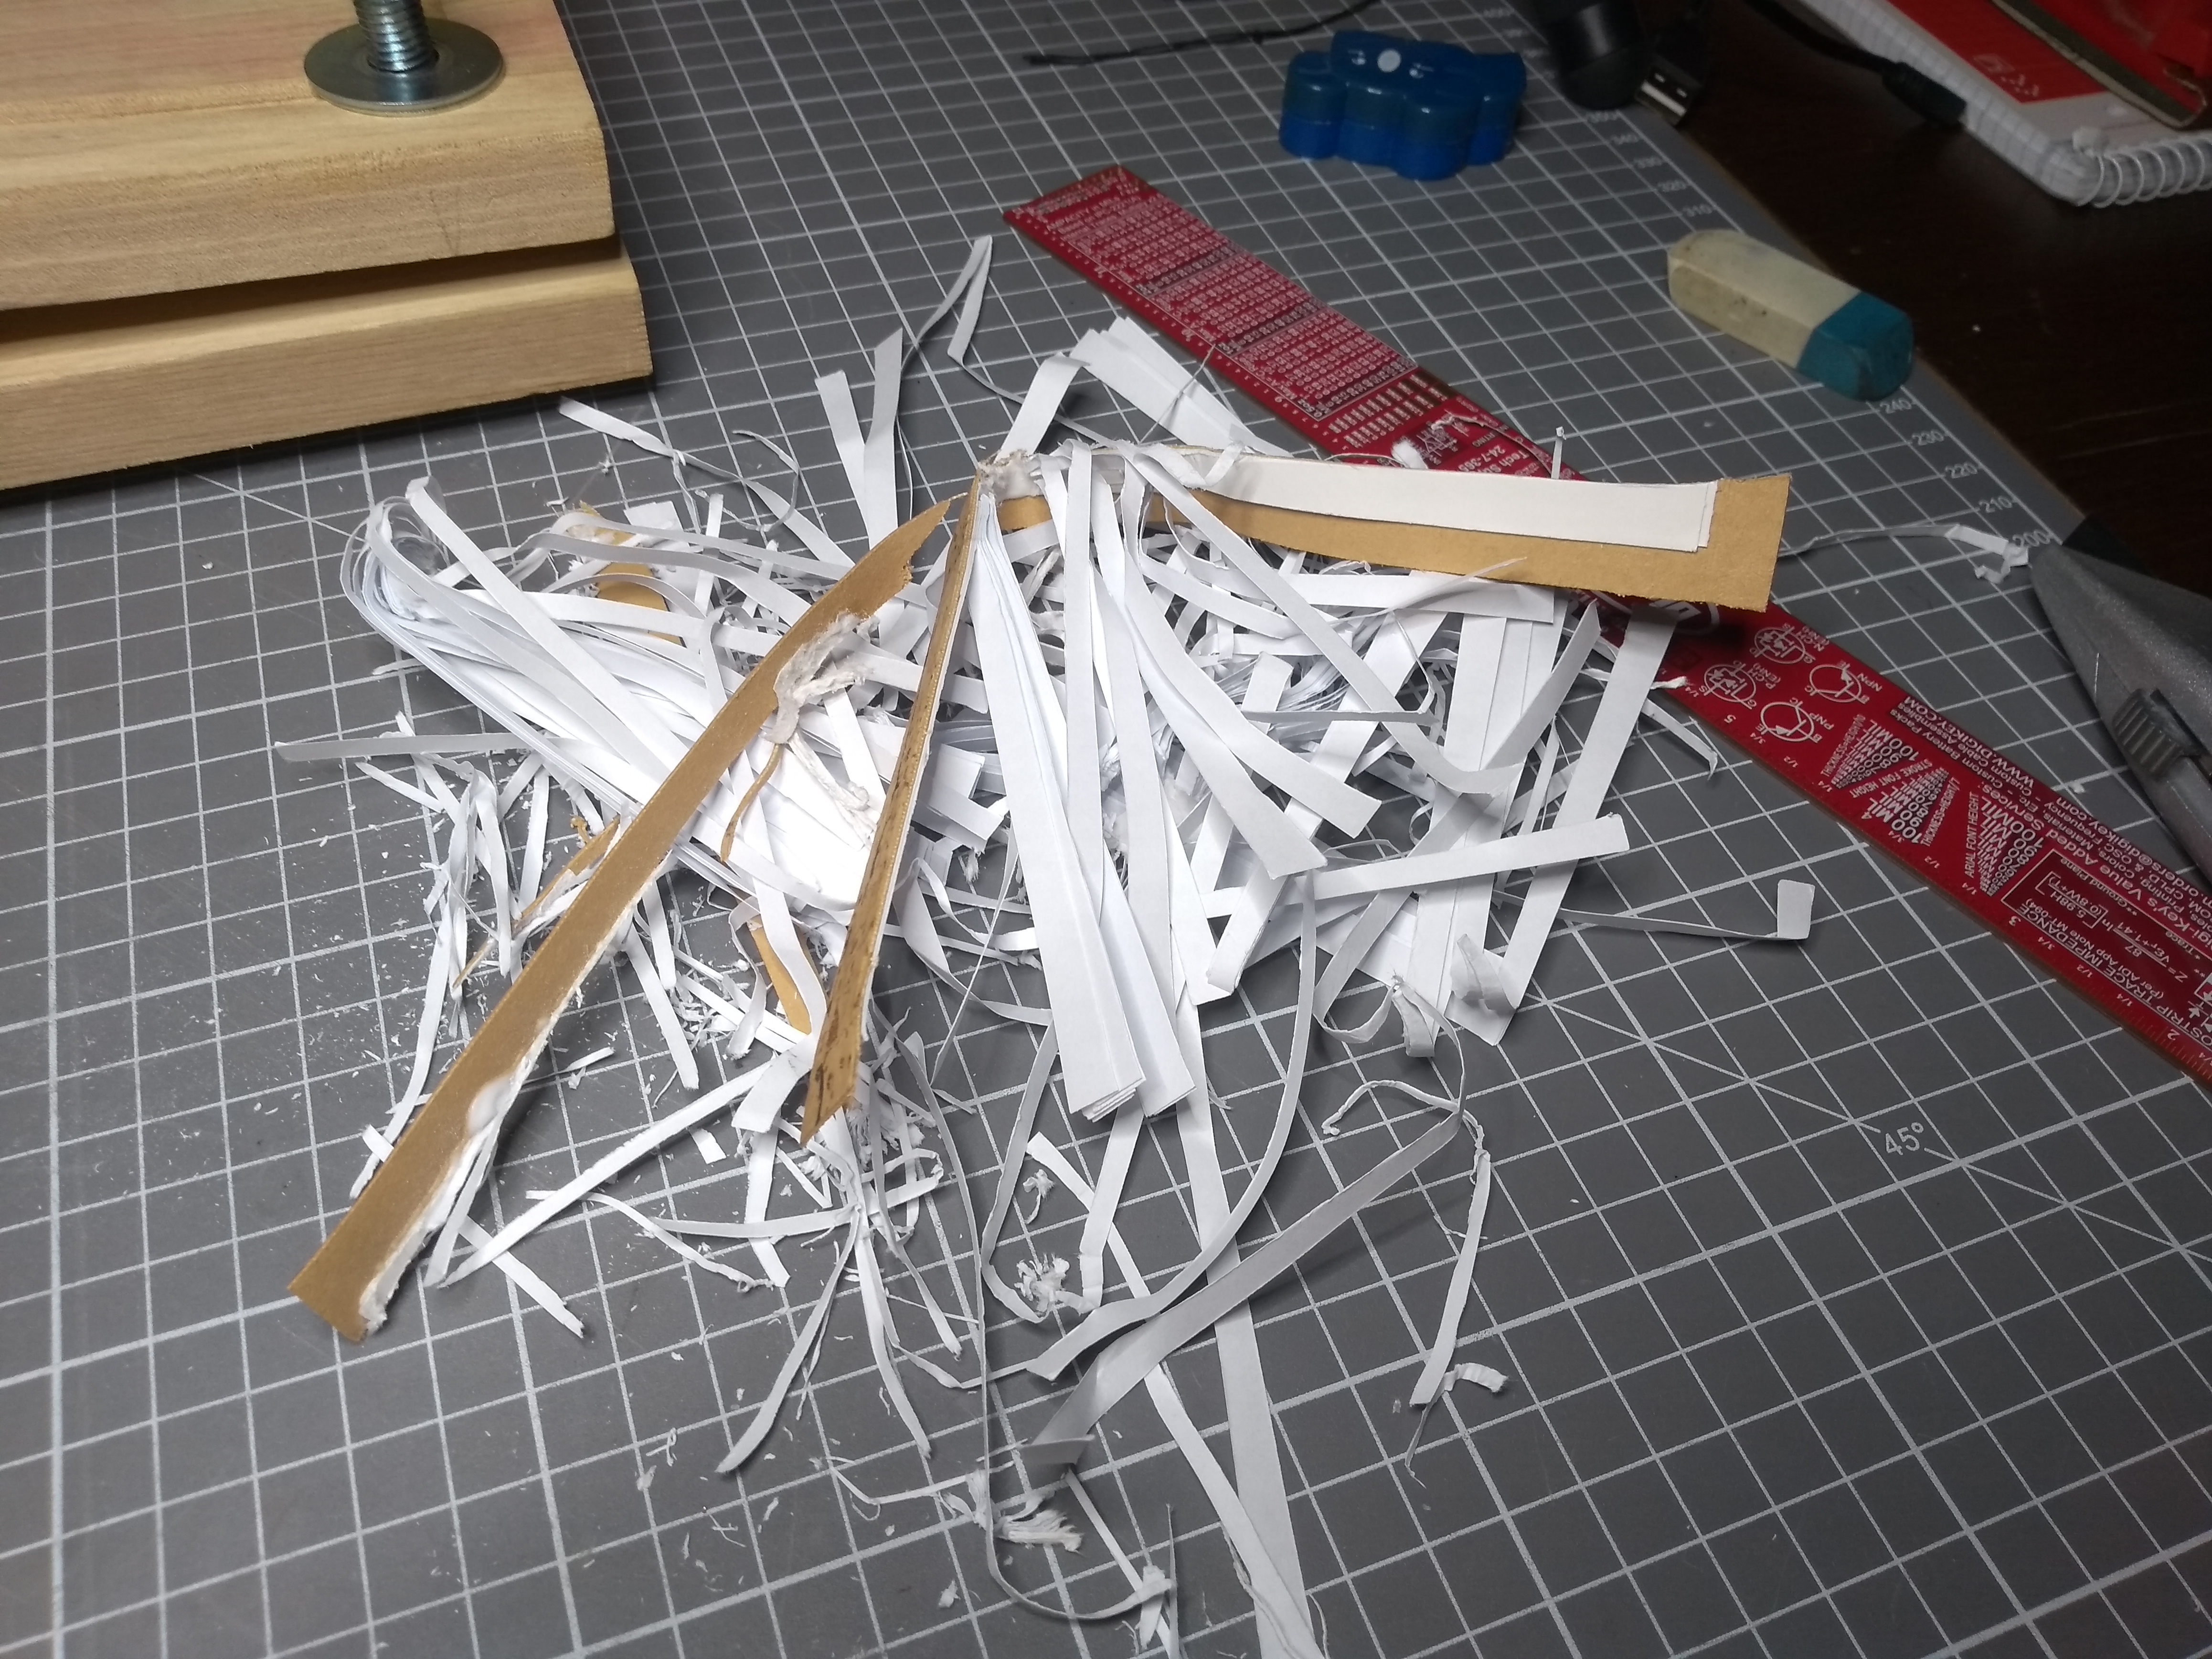
The trash from cutting the notebook to size.